Table Of Contents
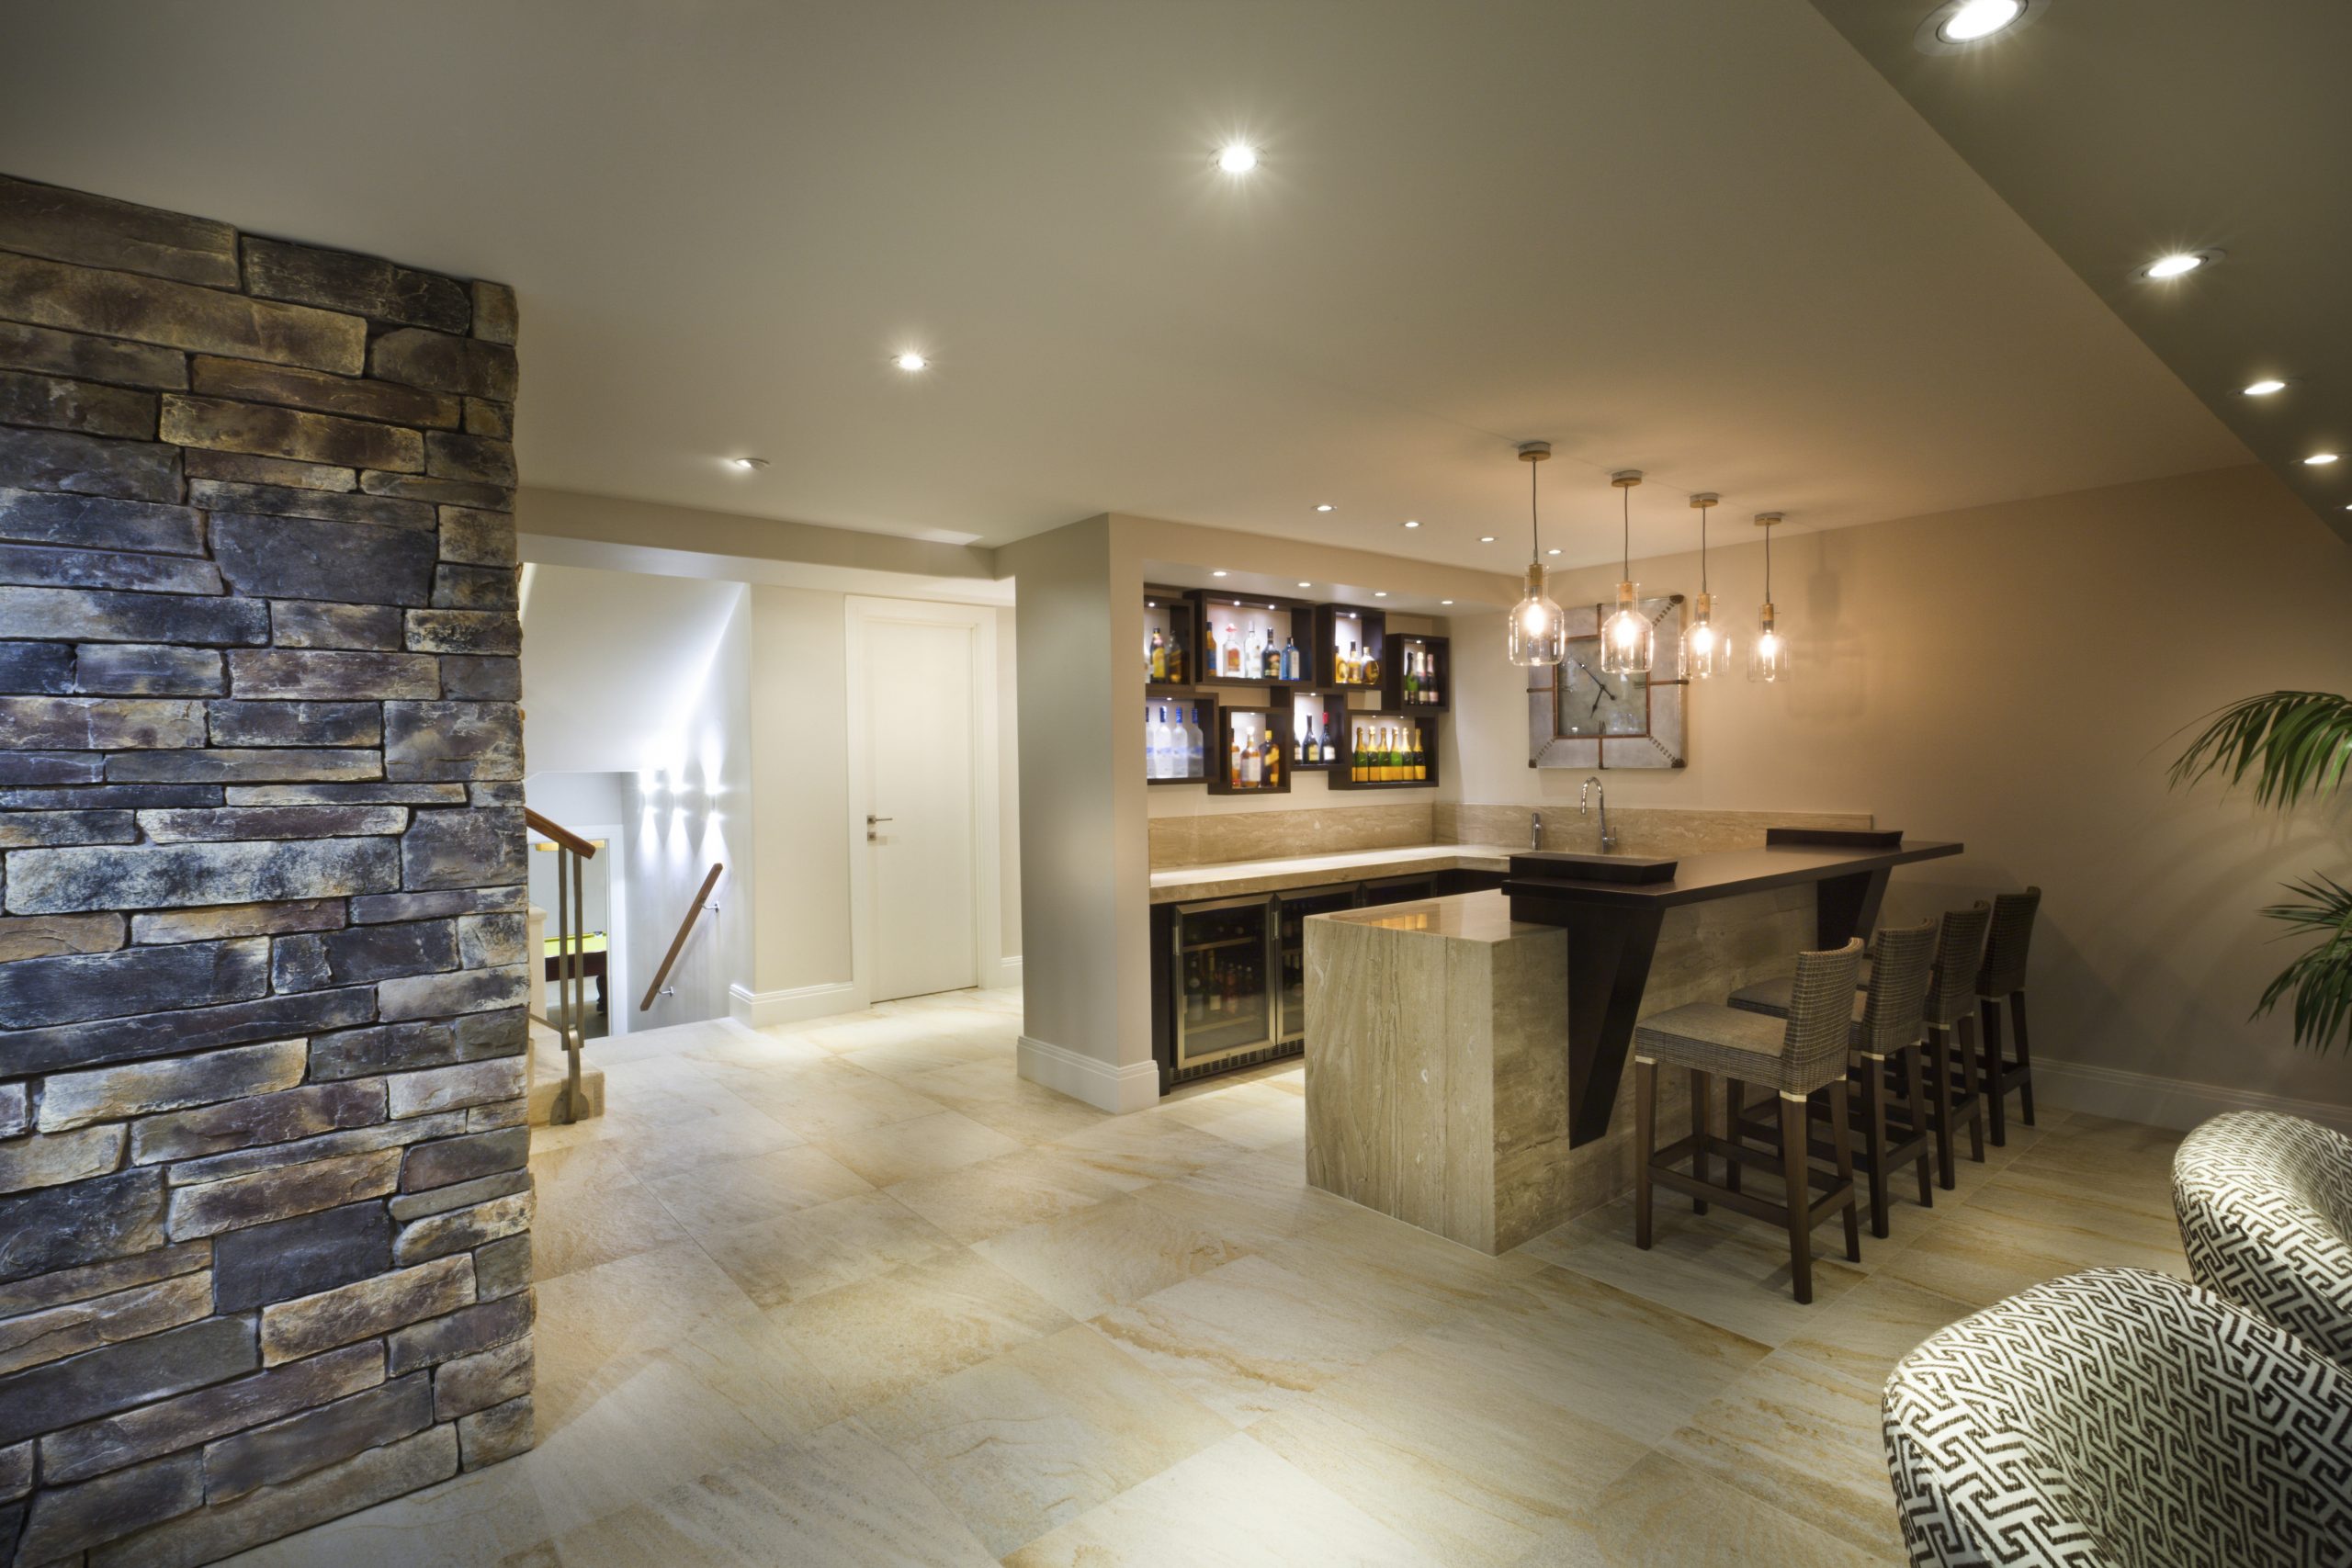
Having your own bar at home is a dream come true. It also provides many benefits for the homeowner. For one, a bar can increase the value of your property, since it can also improve the appearance and functionality of your home. A home bar also helps you save money as you don’t have to go out just to drink your favorite cocktails.
A bar is one of the best investments any homeowner can make. However, before you can take advantage of its benefits, it’s crucial to know how to build one first. Building your own bar will require a lot of your resources, such as time, money, and effort. Not knowing how to go about the building process can put all of these down the drain.
Here’s how you can build your own bar at home:
-
Prepare The Materials
Whether you’re planning to showcase the skills you’ve acquired from a virtual-cocktail-masterclass or merely serve drinks that you’ve bought from a store, building your own bar at home will require you to prepare certain materials. This is the most crucial phase of the process because the durability and appearance of your bar will depend on the materials you’re about to use.
You can use different types of wood when building your bar at home, but it should have the following dimensions:
For the side and front panels:
- Four pieces of ¼-inch plywood for the height and depth of the bar
- 1×4-inch rails to provide support to the plywood panels (should be placed every 12 inches)
- Two pieces of ¼-inch plywood for the height and length of the bar
For the top of your bar:
- One piece of 1×12-inch plywood cut based on the length of your bar
- Three pieces of oak board cut based on your preferred size
- Two pieces of 1×12-inch plywood that are longer than your side panels
-
Assemble The Panels
The type of plywood you’ll use is important because it forms the inner and outer part of your bar. Aside from choosing the right type, you should also know how to assemble them properly to ensure that your bar holds its shape.
When assembling your panels, start by laying the 1×4-inch rails surrounding the perimeter of your bar and then add more for every 12 inches. Secure these in place using wood glue, then carefully cover the front part of the rails with the same wood glue, and press them in place using the remaining plywood. Secure the rails in place using nails. A good shop like Glue Guns Direct has to offer a good brand of glue gun for any kind of your project!
-
Work On Your Bar Top
There are many ways to construct your bar top, but the most effective strategy is to connect the layers, so your bar top doesn’t have any weak points.
When adding the bar top, carefully screw the side panels into position. The back of your panels should be flush with the walls’ edge and overhanging by six inches on the front part and exterior of the walls. This will make your bar slightly off-center, which is a normal part of the process.
Cut the third piece of plywood based on the distance between the side portions of the bar in the front part. After obtaining the accurate measurement, screw everything in position, so it hangs by six inches.
Once you’re done, you can now place the oak board on top of the plywood. Just make sure to cut the oak board equally to the full length of the bar top to ensure that the top will fit securely.
-
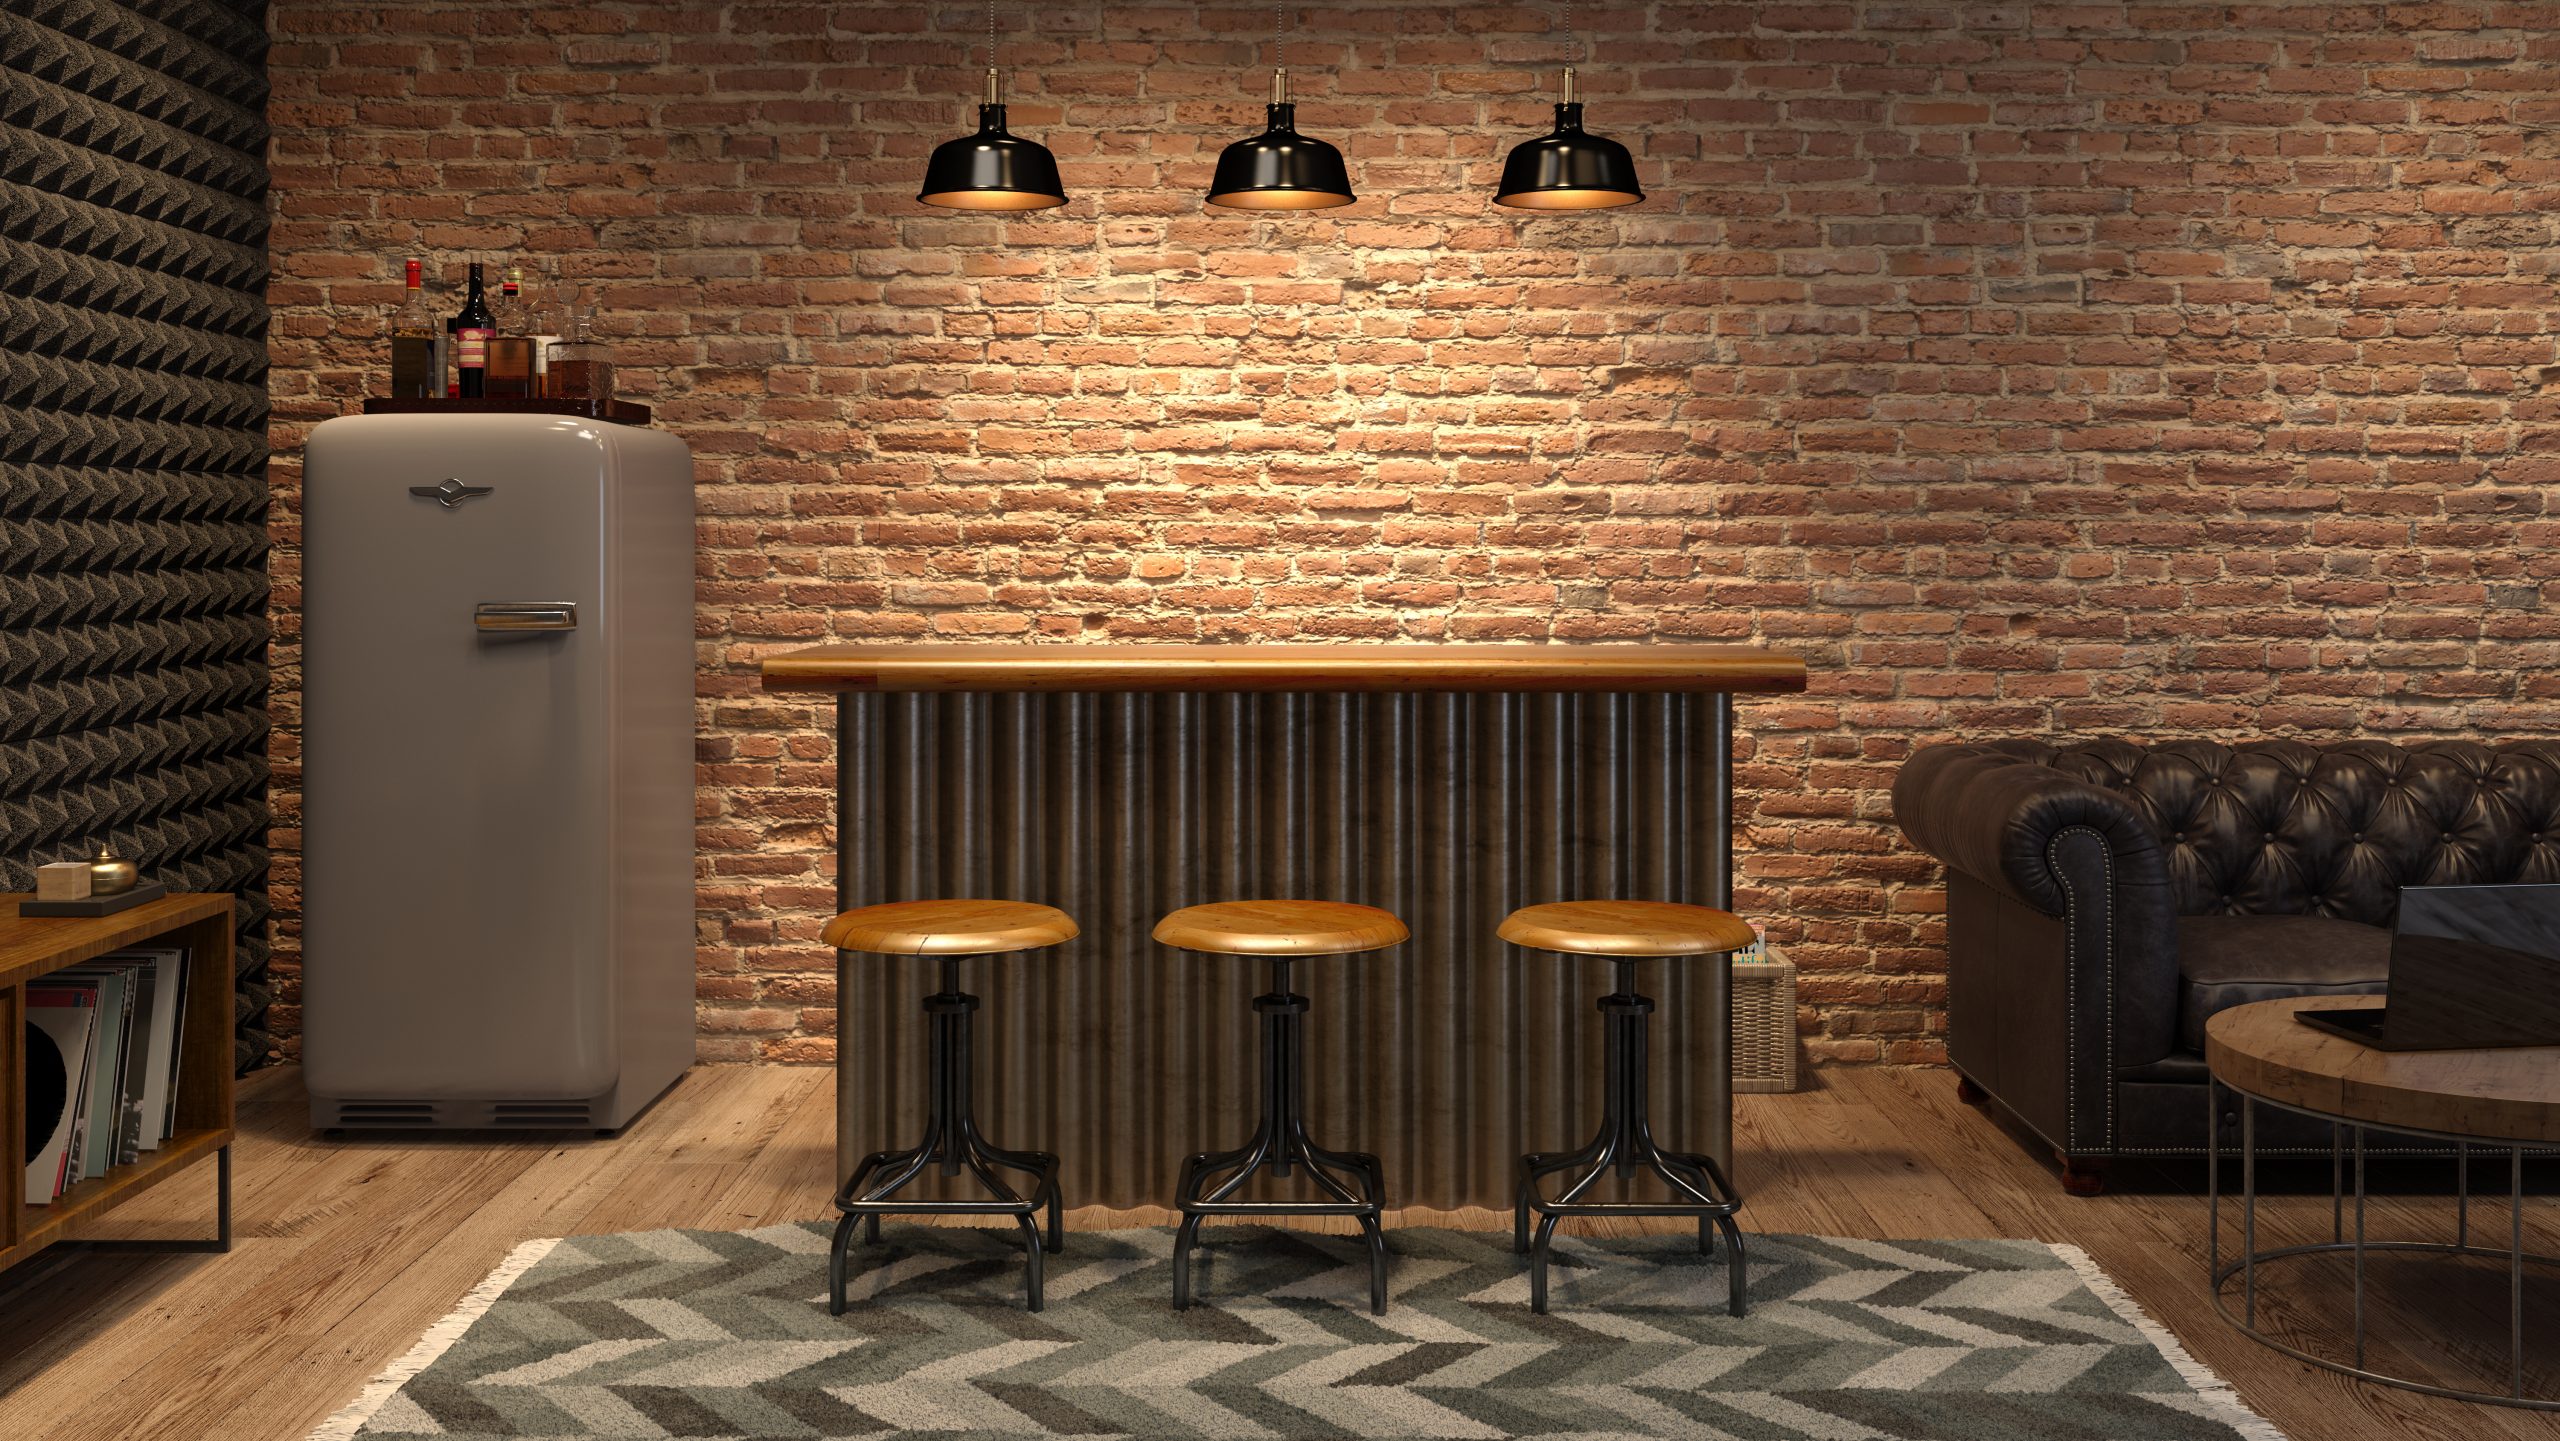
Think About Additional Features
A home bar can already be considered complete when you have a dedicated space to store and serve cocktails and other types of beverages, but you can always take it up a notch by adding more features. If you want your home bar to be extra functional, make sure to have this sorted out in the first place. This is to ensure that your bar has the required space and strength to store these additional features.
Some of the features you can add to your home bar are:
-
- Sink: A wet bar is different from a traditional home bar. As the name suggests, a wet bar has a sink and other running water functions like a water or soda hose. Check out J&T Dale Plumbing if you want one installed in your home bar.
- Here’s an additional info for your plumbing needs.
- Shelves: You can also add some shelves in your bar to efficiently store and organize your drinks and containers. Don’t forget to take the measurements of the shelves you want to add, so it doesn’t look too big or small when installed into the rails.
- Flooring: Fibre reinforced screeds are a great way to improve the look of your concrete floors. The experts at fibrereinforcedscreed.co.uk can provide a range of flooring options and is Your source for screed with fibres.
- Outlets: Your home bar will become more functional if you have several electrical outlets. However, adding more outlets at home will require professional expertise, so make sure to hire electricians to do the job for you.
Your Dedication Counts
Building your own bar at home requires dedication because this project can’t be accomplished overnight. Depending on the size and features of the bar you want to have, you’ll likely have to spend a couple of weeks to complete the project.