Table Of Contents
If you’re stopping by this article, something tells us that you might have a leak under your sink. When do the main components that can cause such a leak, means there’s something wrong with your sink drain basket strainer. Over the years this can loosen up and can be a source of leaking into your sink base and eventually damaging your sink base. So this article will explain to you and walk you through step-by-step on How to Replace Sink Basket Strainer.
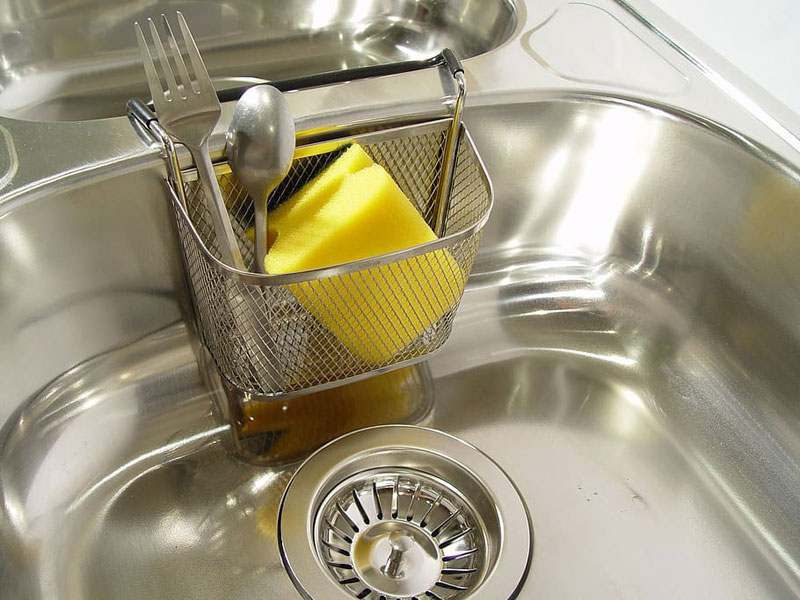
What do sink basket strainers do?
Sink strainers are placed within your sink that provides a clean and aesthetically pleasing addition. It’s designed to ensure that access food and debris will not end up clogging your sink and drain. In essence, it’s a minor investment that may save you from big headaches over time. Additionally, a strainer can be regarded as a decor piece that can add a quiet character to your kitchen.
How a sink strainer is made?
A sink strainer is made up of several simple parts. It’s usually made out of stainless steel. It has several simple parts. It strainer is the middle part that fills the large hole in the sink. The bottom of the strainer has threads that allow you to connect the drain piping to the strainer assembly. The basket is the removable part you put in the strainer to stop water from going into the drain.
The strainer is held tightly against the sink protector mats with a large bowl-shaped washer and a nut. There’s also a rubber washer that fits between the washer and the sink. To seal the strainer to the sink plumber’s putty or silicone adhesive.
Useful tools for this job
The tools that you’ll be needing to uninstall and install the sink strainers are-
- Screwdriver
- Hammer
- Drain wrench
- Plumber’s putty or silicone adhesive
- Paper towel
- Pipe wrench or channel lock plier
- Needle-nose plier
How to remove your old sink basket strainer?
Primarily, it’s advisable to use the service of a plumbing contractor in doing such tasks. For example, there’s a a reputable plumber fisco that can sort this for you in Texas. You can also search online for a ‘plumber near me‘ so that you can locate a plumber near you.
To remove your old sink strainer, you need to follow the steps below-
- Use a hammer and a screwdriver to tap at the tabs to force the nut to lose
- Take your kitchen drain wrench into the tabs and line it up with the nut, hold the center part, slowly turn the wrench, and make it lose
- Undo the nut and get the tail part off of there and slid it right down the pipe
- Make sure you’ve collected both the washers- the friction washer and the gasket
- Clean this entire area to remove any residue of old plumber’s putty
- Also, clean the residue around the flange of your drain thoroughly. If your drains are blocked and need drain cleaning, call a plumber from blocked drains wollongong for help.
- Because you don’t want anything interfering with your new layer of plumber’s putty that you’re going to apply
- So now you are ready to install your new sink basket strainer
How to install a brand new sink basket strainer and drain?
To install a brand new sink basket strainer follow the instructions below. If you want to avoid mistakes or simply do not have the time to perform this yourself, any professional plumbing contractor should be able to take care of this for you in short order.
- Traditionally plumbers use plumbing putty (check shower regrouting melbourne for service) to seal the strainer to the sink
- Take a golf-ball sized amount of putty and knead it with your fingers
- Carefully create a large ring with putty that matches the size of the hole and the sink
- Before you place the putty onto the sink take a paper towel or rage
- Remove any dust and dirt from the sink
- Push the putty down on top of the sink right around the edge of the hole with your fingers
- Make sure to put the putty around the hole evenly
- Then push the strainer into place and apply even pressure on the strainer
- You’ll notice some of the putties will start to squeeze out
- Look underneath the sink and you’ll see excess putty has also been squeezed out between the strainer and the hole on the sink
- You need to remove those excess putty carefully with your fingers
- Now it’s time to install the large bowl-shaped washer making sure that the rubber washer is between the bowl and the bottom of the sink
- Put the large tightening nut onto the threads and bring it up into position
- Use a pipe wrench or channel lock pliers to tighten the nut under the sink
- To prevent the strainer from twisting in the sink use a needle-nose plier to hold it in position
- Stick the two prongs of the pliers into the holes of the strainer and hold the pliers tightly as you tighten the nut below
- This job will be much easier if someone holds the needle nose pliers while you tighten the nut lying on your back
- If your strainer comes with a logo on it be sure the logo is centered on the opening
- So that it looks professional
- Lastly, wait for a few days to let the putty dry and you are good to go!
Then you can also opt to hire drain plumbers Brisbane to do the job for you.
After you’re done, just don’t go yet. You need to check your very important work. Turn on the water and check for any leaks underneath. Then fill the sink up to at least halfway so a large volume of water can make some pressure on the top. It will also help you find the leaks. So this is the way How to Replace Sink Basket Strainer and we hope this will be much helpful to you.